The DragonOS distribution is a fork of Lubuntu, but it’s specialized for SDR. It comes preloaded with a ton of useful tools like GNURadio. It’s super cool because it saves you time, many radio tools are outdated and can be a pain to set up.
Installation
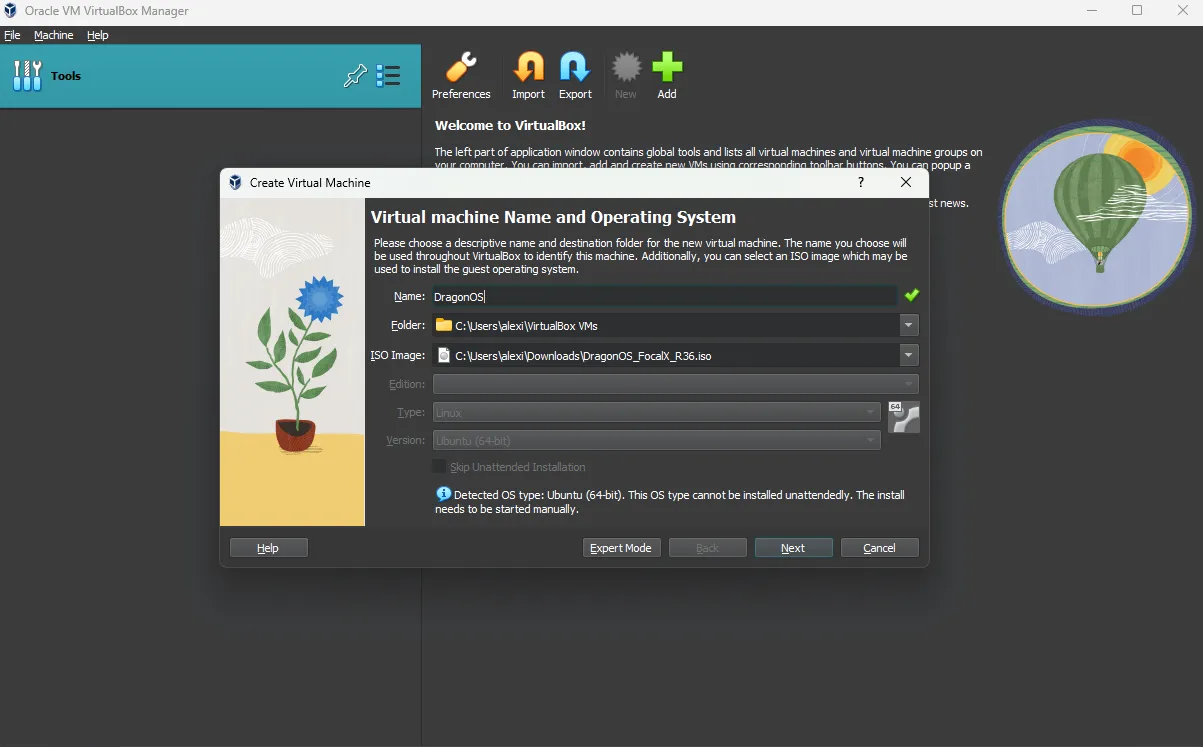
To grab the ISO, just head over here. Next, you’ll need a hypervisor like VirtualBox or VMWare, whichever you prefer. Since I’m on Windows, I’m keeping it simple with VirtualBox, which you can download here. For Mac ARM, you’d need to use VMWare :)
Launch VirtualBox and click the New button to import your ISO.
Launch VirtualBox and click the New button to import your ISO.
First Boot
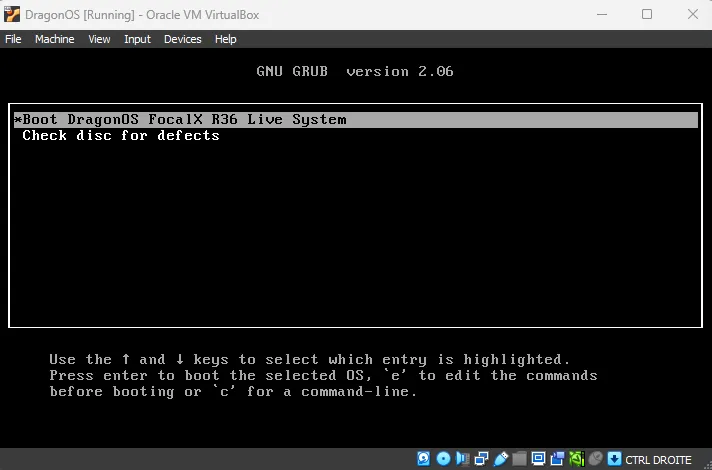
Now, double-click to launch DragonOS. You might see a screen like this:
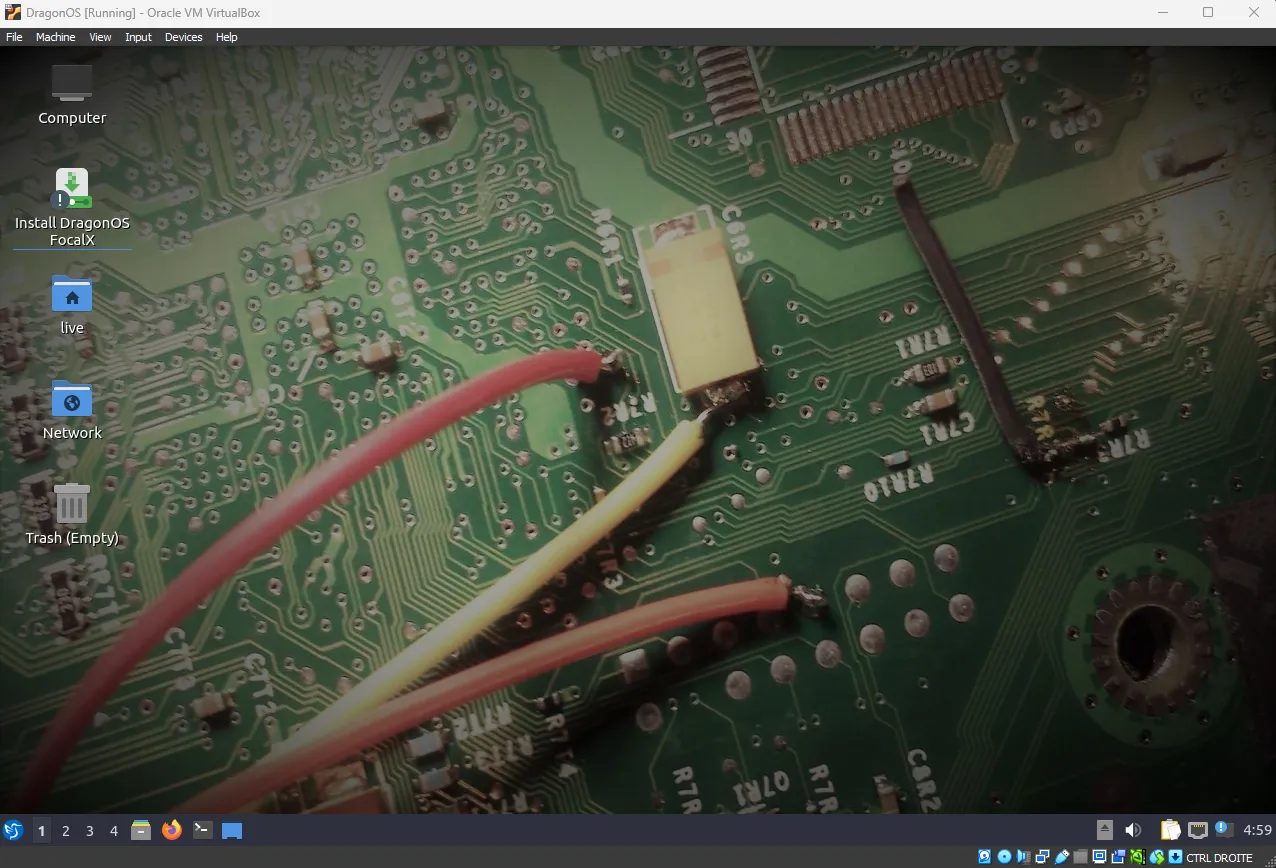
Double-click the icon and follow the installation prompts. The default options work fine. After a bit, you’ll be prompted to reboot the VM, and then you’re all set!
Exploration
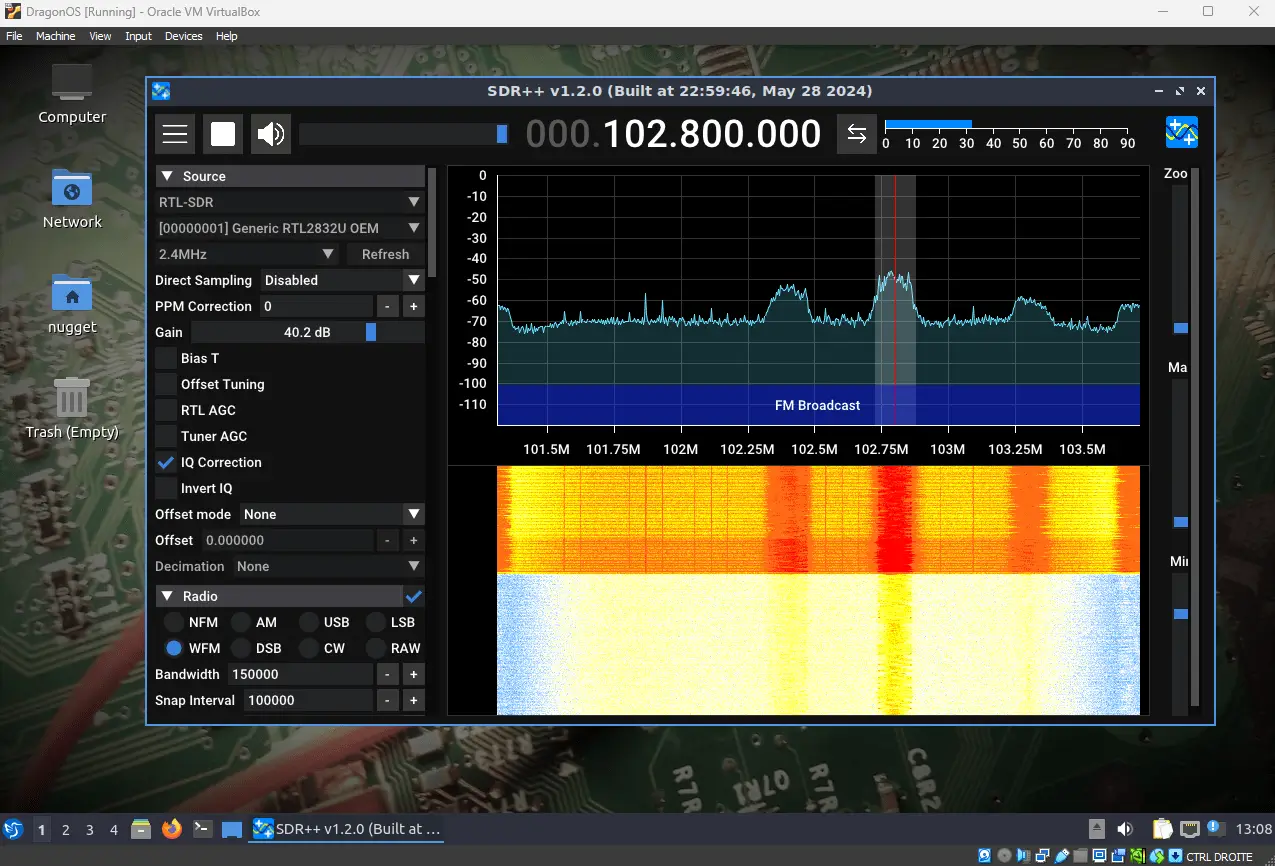
On DragonOS, you’ll find a slew of preinstalled software, so we won’t cover them all. I’ll let you explore based on your own needs, but know there’s something for every radio enthusiast.
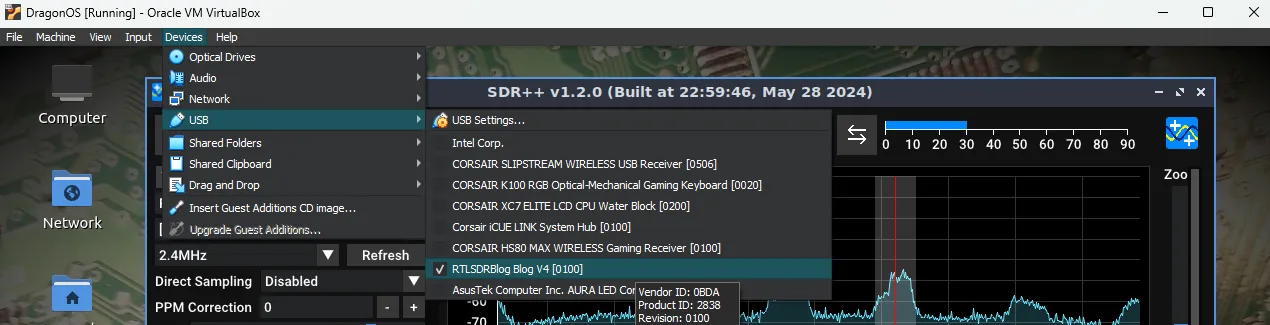
Let’s test things out by plugging in your SDR receiver. In my setup, I use the RTL-SDR V4 dongle along with the awesome SDR++ software.
Before proceeding, you need to instruct VirtualBox to recognize your SDR dongle connected via your host’s USB port. In the menu, go to Devices -> USB and click on your SDR receiver.

Shared Folder
When you want to work with files from your host machine on your VM, you’ll need a way to transfer them. A simple solution is setting up a shared folder.
First, ensure that the Guest Additions are installed. These drivers enhance the interaction between the VM and the host.
Within the VM, click on Devices -> Insert Guest Additions CD Image... at the top, and then Execute the
autorun.sh script.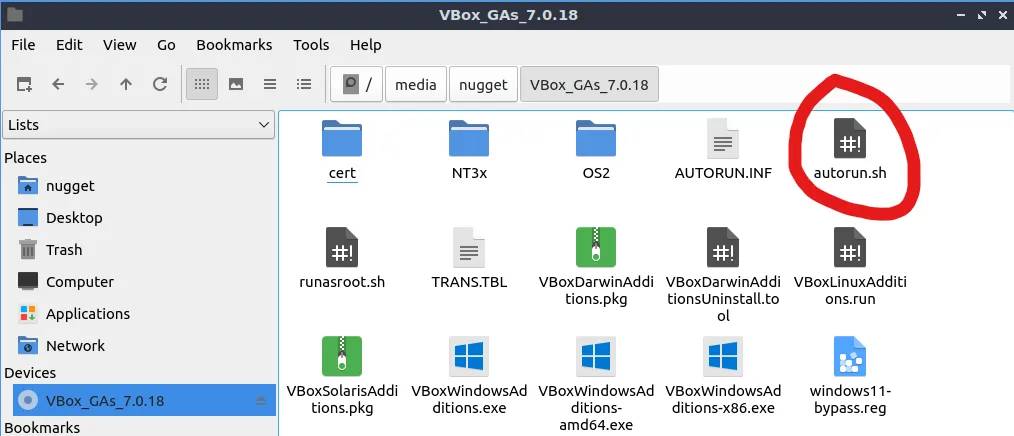
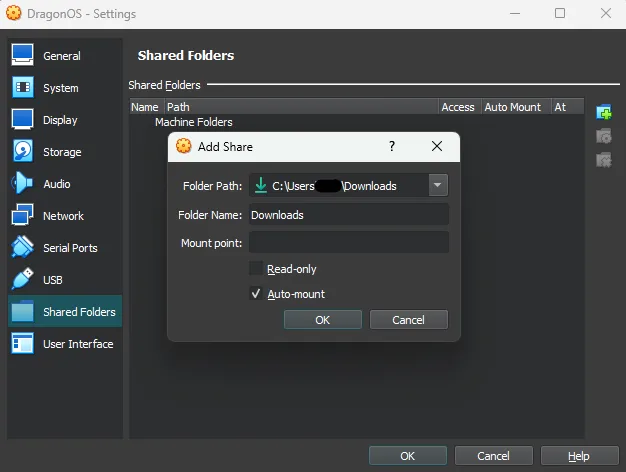
sf_Downloads.
If you encounter any permissions issues, open a terminal and type sudo adduser [your-user] vboxsf, then reboot the VM, and it should work perfectly.And that’s it, DragonOS is ready to be used!